How to deploy a HUGO site in Azure Static Web App
- 4 minutes read - 699 wordsThis past May 19th, while I was watching the Static Web App Build presentation, I decided to do a test with HUGO to start again my blog after 5 years of silence.
TL;DR: Static Web Apps allows you to deploy static content with a custom domain and Azure Web Apps does the rest: creates a GitHub Action for continuous deployment, gives you an SSL certificate for your custom domain, does the global distribution and helps you with Azure Functions if you need to generate some content from an API. Best of all, it’s all for FREE, you even get a free SSL certificate for your site’s custom domain.
Disclaimer: I did this before reading the official tutorial where you will find an advanced step-by-step guide for a customized HUGO deployment.
First, you need a blog
I must confess I’m a total noobie with static blogs. I used WordPress for so many years, but this last 5 years everything changed and I’m using Markdown even for my cooking recipes, so this shouldn’t be too hard. This article is not about blogging, and you have an awesome guide on how to start on the HUGO website. But, let’s summarize the basic steps:
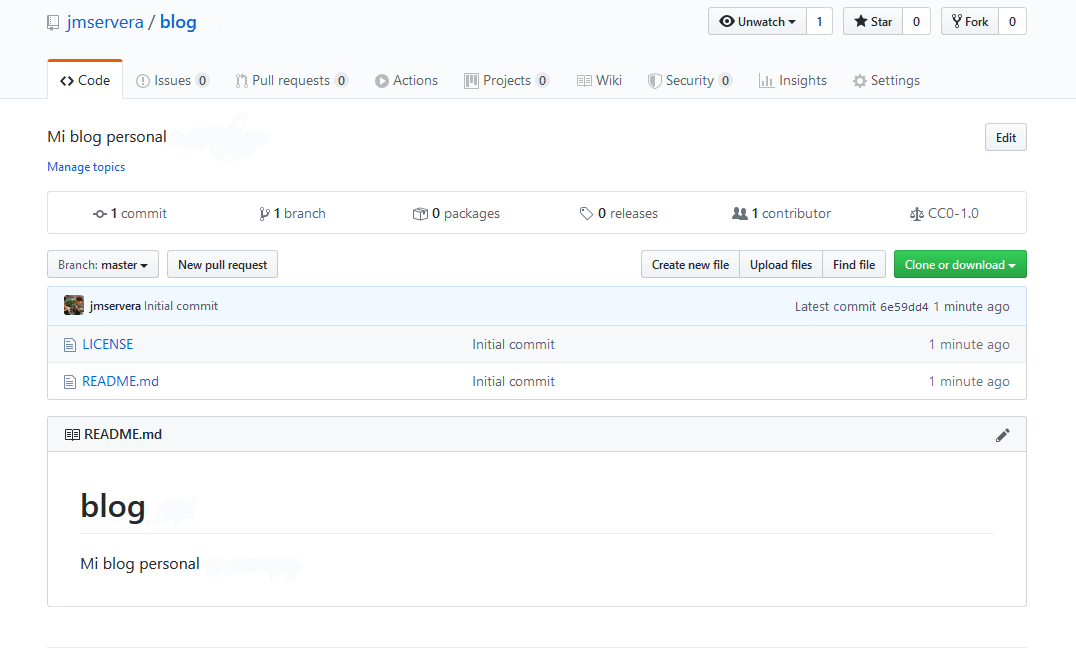
First, we will need a Git repo, this is how HUGO works and Azure Static Web Apps uses GitHub to link your repo, so here we go:
Then we create a simple blog with the HUGO CLI. See in this picture my basic steps:
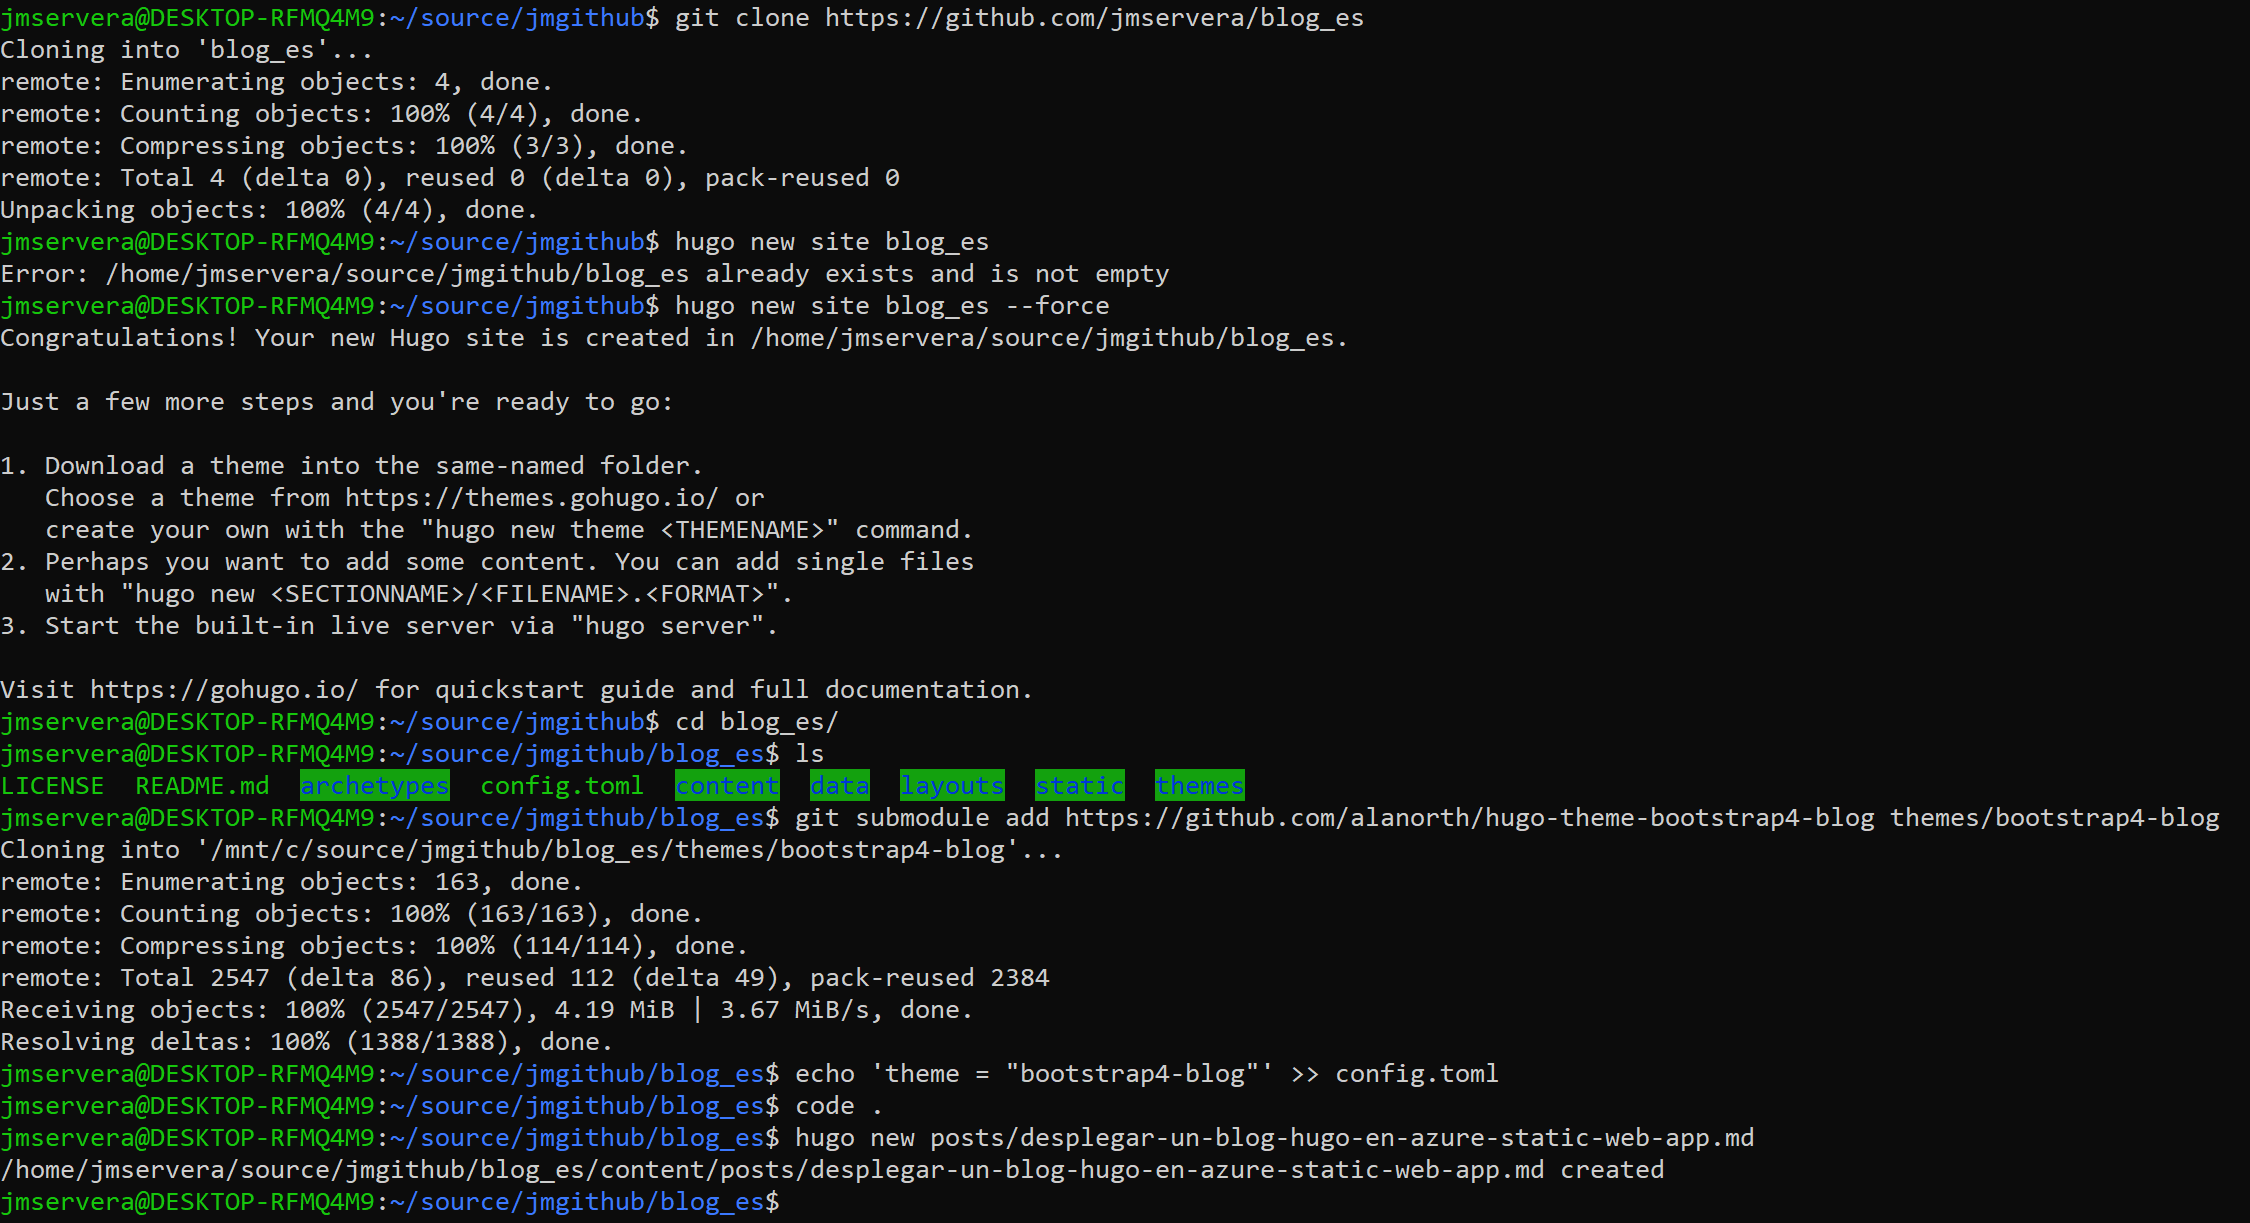
What I’ve done is:
I cloned the almost empty repo
Then I created a new site with HUGO:
hugo new site blog_es --forceThe theme is added as a submodule:
git submodule add https://github.com/alanorth/hugo-theme-bootstrap4-blog themes/bootsrap4-blogAnd, finally, I created this post:
hugo new posts/desplegar-un-blog-hugo-en-azure-static-web-app
After these steps we have a plain and simple blog that we can edit and test locally.
Deploy our new blog in Azure Static Web App
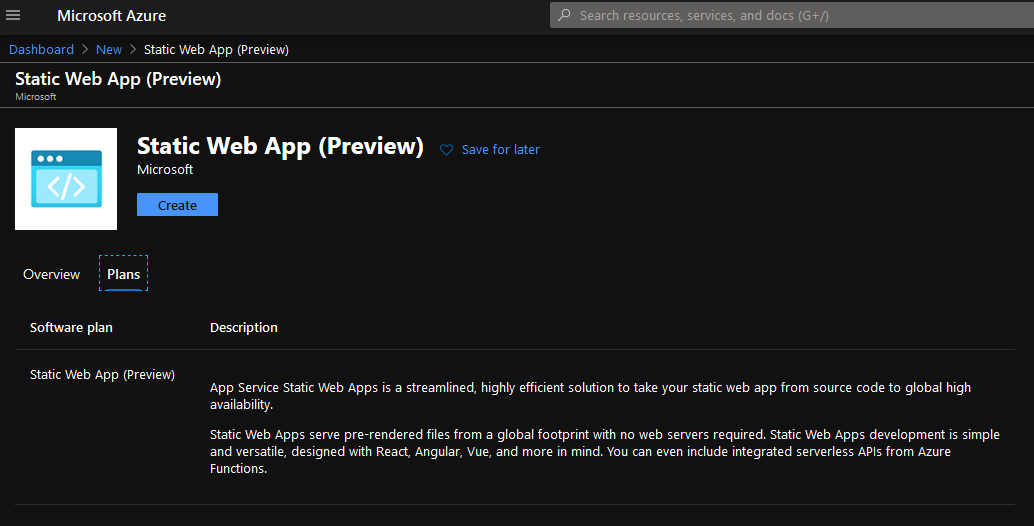
Once we have pushed the blog to GitHub, we create in Azure a new Static Web App.
We will need to configure our GitHub credentials:
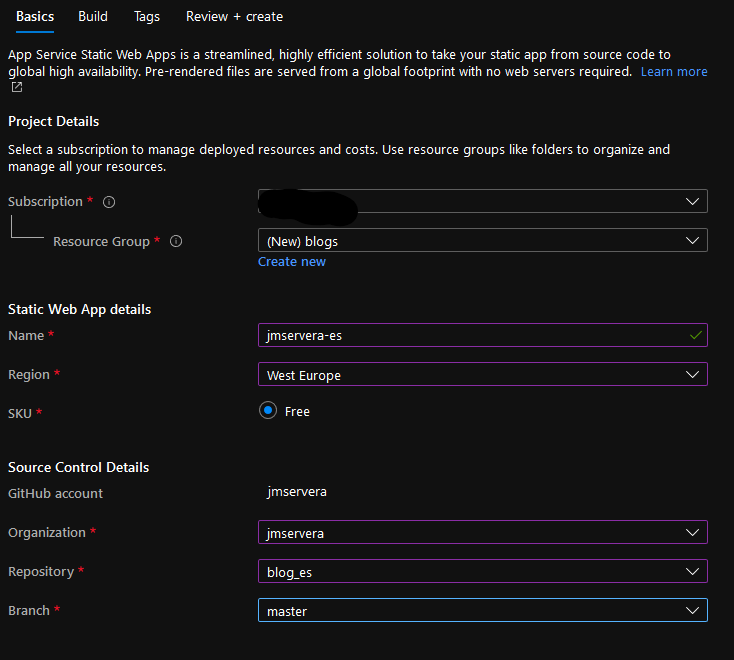
And change the App artifact location to “public”, the folder where HUGO creates the output:
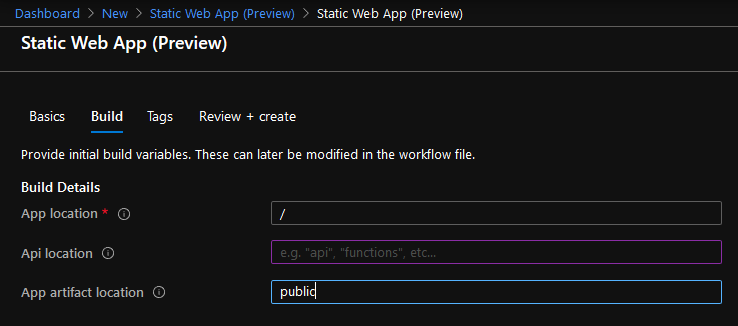
And this will automagically create a GitHub Action that will generate and deploy our blog in our web app. The first deployment will fail because I used a submodule for the HUGO theme and this is missing by now, so, we will need to modify the checkout action to force the download of the submodule. In the .github/workflows folder there’s a .yml file that we will need to modify in the checkout step:
- uses: actions/checkout@v2
  with:
    submodules: true
Pushing these changes will run the action again that will now deploy our blog into our static web app:
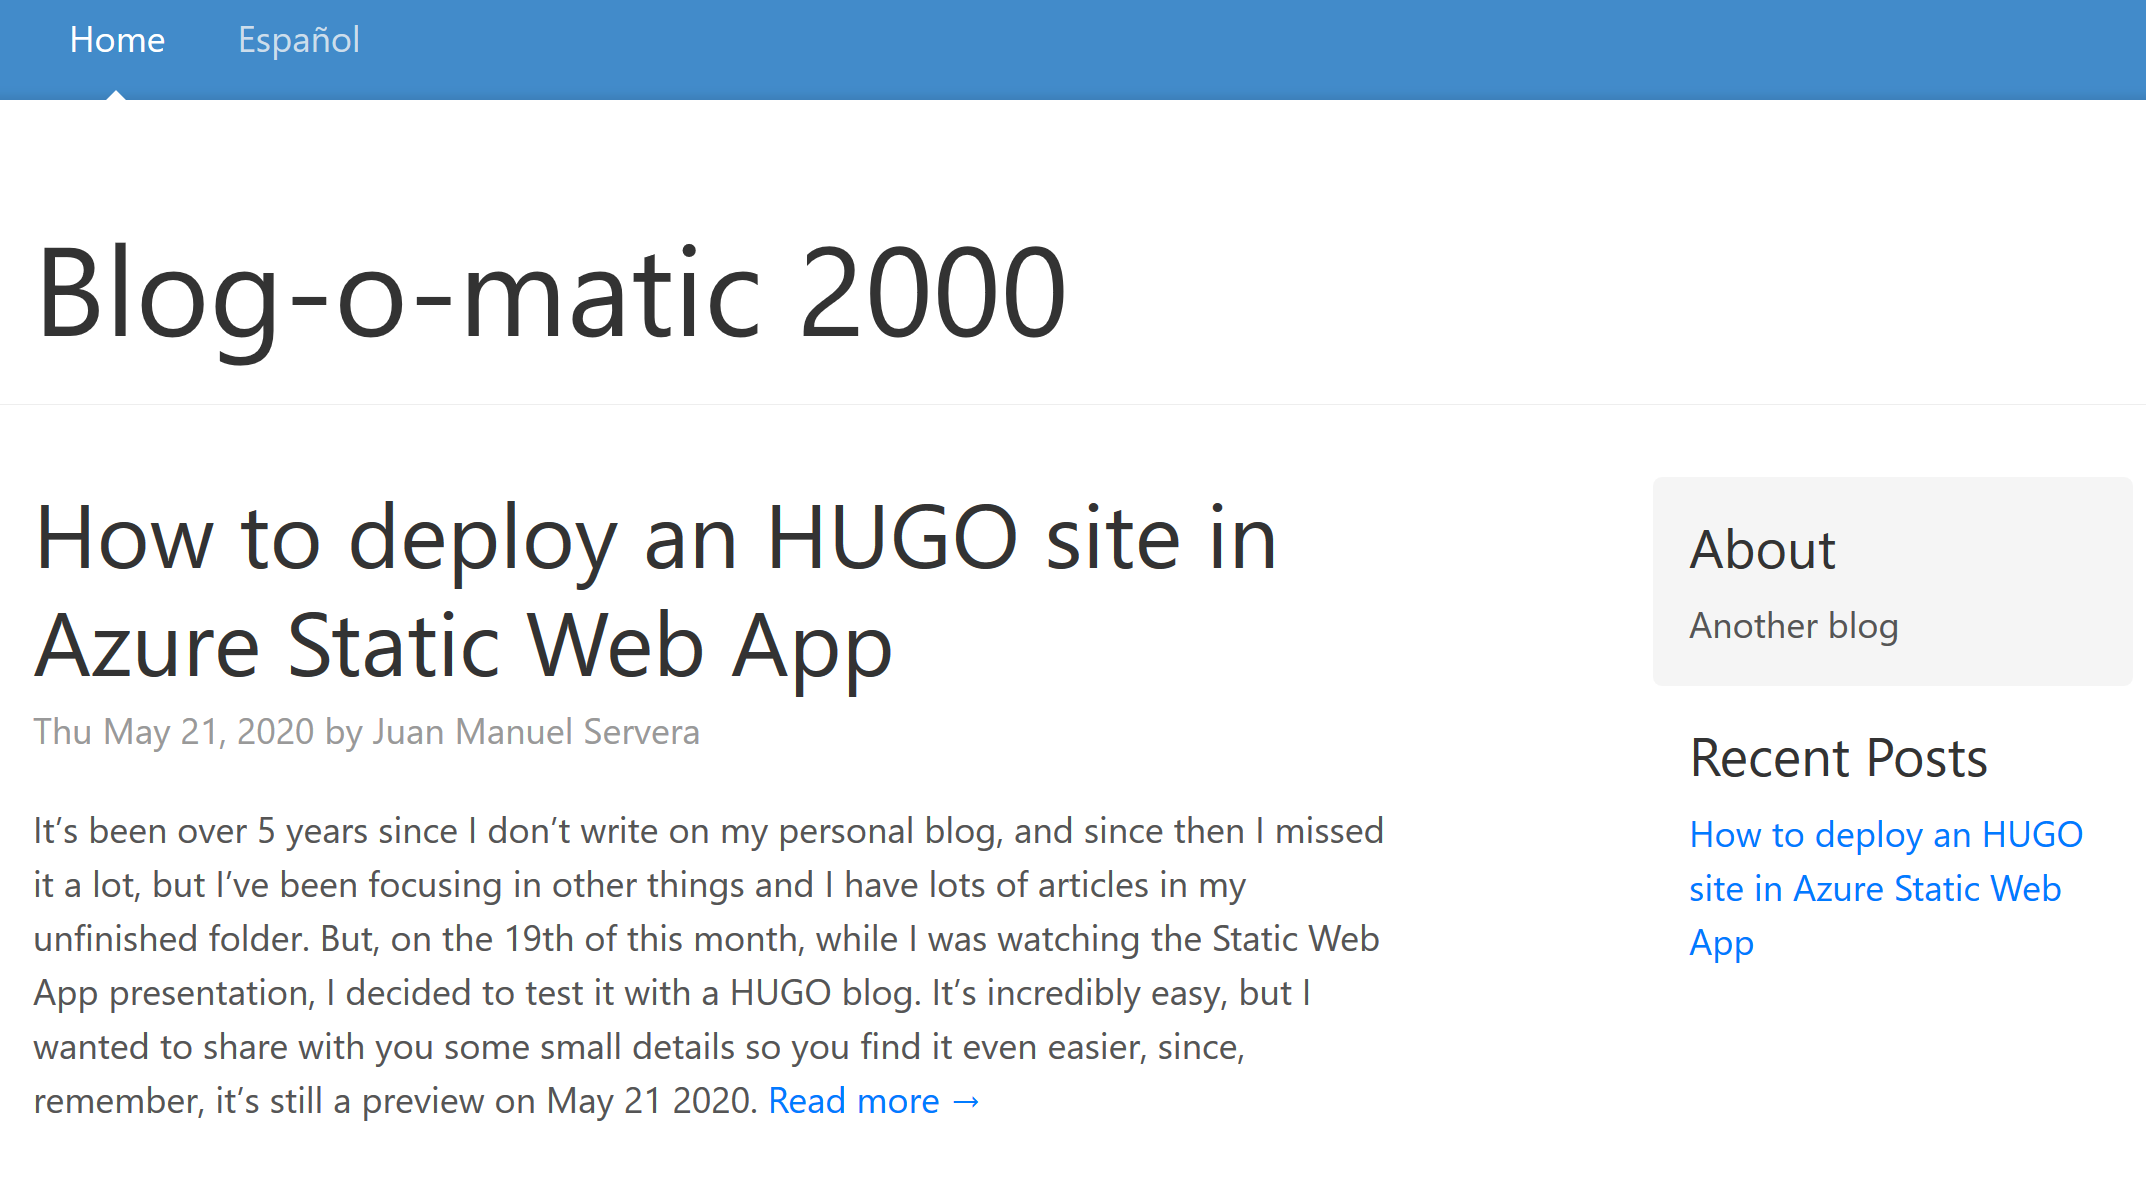
How all this works
The magic behind this is supported by two different systems:
- Azure provides all the infrastructure. As my colleague @CJ_Aliaga told me, all this systems already existed before: Custom domains integration, SSL, deployment slots (called Environments), authentication and role authorization, routes, and Azure Functions integration for a stateless API.
- GitHub Actions system that takes care of the static web content generation from your repo, and then do the automated deployment to the static web app. You can see how it’s done in the Azure/static-web-apps-deploy repo, where you will find how a tool named Oryx is used. This tool detects the language and builds your repo when it is created in one of the supported platforms: .Net, Nodejs, PHP, and Python. It can also generate static web apps from HUGO 0.59, and also supports sites using a combination of programming languages like, for example, Django + React.
If the build and deploy script does not find something to build, but it finds an index page in the main folder, it will deploy whatever is found there. That is why the official example adds some extra steps to use a newer version of HUGO:
- name: Setup Hugo
  uses: peaceiris/actions-hugo@v2.4.8
  with:
    hugo-version: "latest"
- name: Build
  run: hugo
This means that you can use any static site generator that can be run from the command line.
And that’s all folks. Now I have to search for a good theme template for my blog. See you around.